

Rodents—those small, agile, and not-so-adorable creatures that often evoke images of chaos, speed, and the urge to jump on chairs in classic cartoon fashion. Unfortunately, in real life, the presence of these critters is no laughing matter. Rodents in your home can lead to potential health hazards, and property damage, and are a sign that some form of prevention or intervention is necessary. This blog post aims to arm you with the knowledge to identify whether you have a rodent problem in your residence. We’ll explore the ten telltale signs that these uninvited housemates have set up camp and are potentially causing issues that could range from benign to severe. 1. Sighting Stray Rodents One of the most immediate ways to recognize a rodent’s presence is by actually spotting one. Mice and rats are nocturnal, which means they are more active during the night. If you happen to see one scurrying across your kitchen floor, or darting into a hole in the wall, it’s safe to assume more are hiding elsewhere in your home. It’s not the only sign, but it’s certainly a critical cue to action. What to do: If you spot a rodent, don’t ignore it. Set up some traps near the sighting to gauge the extent of the infestation and consider professional pest control. 2. Skittering Sounds at Night You can also “see” rodents with your ears. The skittering of tiny paws across the floor and the scratching within walls or ceilings is a characteristic, and often terrifying, sound that could signal a rodent’s presence. What to do: Listen closely at night and trace any unusual sounds. The areas rodents have infested often include the attic, basement, and inside walls. 3. Droppings in Discreet Corners Rodent droppings bear a similar nighttime infamy. They’re often left in food cupboards, behind appliances, along baseboards, and in any dark, secluded areas rodents regard as safe routes during their nighttime adventures. What to do: Inspect your home routinely for droppings, and remember that the presence of droppings also indicates a need for immediate and thorough cleaning and disinfection. 4. Chew Marks and Shredded Paper Trails Mice and rats have teeth that grow constantly, so they gnaw on many materials to keep them honed down. Look out for chew marks on food packaging, structural materials, and wiring – the latter being a fire hazard if left unchecked. What to do: If you spot chew marks, secure any exposed wires and consider keeping non-hazardous materials out of reach by using stronger, rodent-proof containers. 5. Unexplained Pet Behavior Animals often have a keen sense of the presence of others in their territory. Cats and dogs may fixate on dark corners or become unusually animated in areas without apparent reason. What to do: Take note of any pet behavior changes, and if you suspect a rodent problem, consider animal-safe protection and repellents that won’t harm your pets. 6. Nesting Sites and Materials Rodents like to build nests using materials such as shredded paper, fabric, and dried plants, which they can gather from various locations around your house. What to do: Be aware of unusual accumulations of materials in one area. It could be a sign of a nest and a good location to consider placing traps. Professionally sealing entry points can prevent them from coming back. 7. Stale Smell of Uninvited Guests The scent of a rodent infestation can be strong and unpleasant, often described as a musky, stale odor. This smell is generally a mix of the rodent’s scent, droppings, and urine. What to do: When such a smell becomes apparent, consider employing deep-odor-cleaning techniques and addressing their food sources. The reduction of available food will often lead to their departure. 8. Greasy Trails along Walls and Baseboards Rodents are known to squeeze through tiny openings, often leaving a trail of grease and dirt from their fur along the walls where they frequently travel. What to do: Regularly inspect the area along the walls, and if you see any greasy marks, set up traps nearby, as you are close to one of their travel routes. 9. Rub Marks on Frequently Traveled Routes Similar to the previous sign, rodents often create rub marks when moving through the same paths. These marks are made by the oil and dirt on their fur and will become noticeable over time in well-traveled areas. What to do: Look for darker, greasy areas along baseboards and floors. These marks usually indicate heavy rodent activity and professional intervention might be necessary. 10. Footprints Indoors and Outdoors Rodents have poor eyesight, so they tend to run along the same pathways over and over, quickly establishing a “route.” These trails can become so established that you may even see footprints in dusty or soft materials. What to do: Keep an eye out for these prints, especially along areas where you believe they travel the most, and take action to disrupt these routes, sealing off access if possible. In Conclusion Recognizing signs of a rodent infestation is the first step to solving the problem. Once you’re aware of their presence, your aim should be to eliminate them from your living space and take measures to secure against future invasions. It’s important not to underestimate the potential risks associated with a rodent infestation, as they extend beyond mere annoyances. They can pose serious health risks, damage possessions, and even structural integrity in some cases. Proactive measures, combined with swift, focused action and calling for pest control services, are the keys to rodent control and a pest-free home. About Us Want to get rid of pesky pests and rodents in your home or business building but don’t know how? Enviro-Care Pest & Termite Control, Inc. is there to help you. Working since 1996 to help the citizens of the Orange County Area, we specialize in quality pest control services including termites, rodents, ants, and roaches. You can reach us at 714-744-1411 for any queries or fill out our contact form to know more. The best
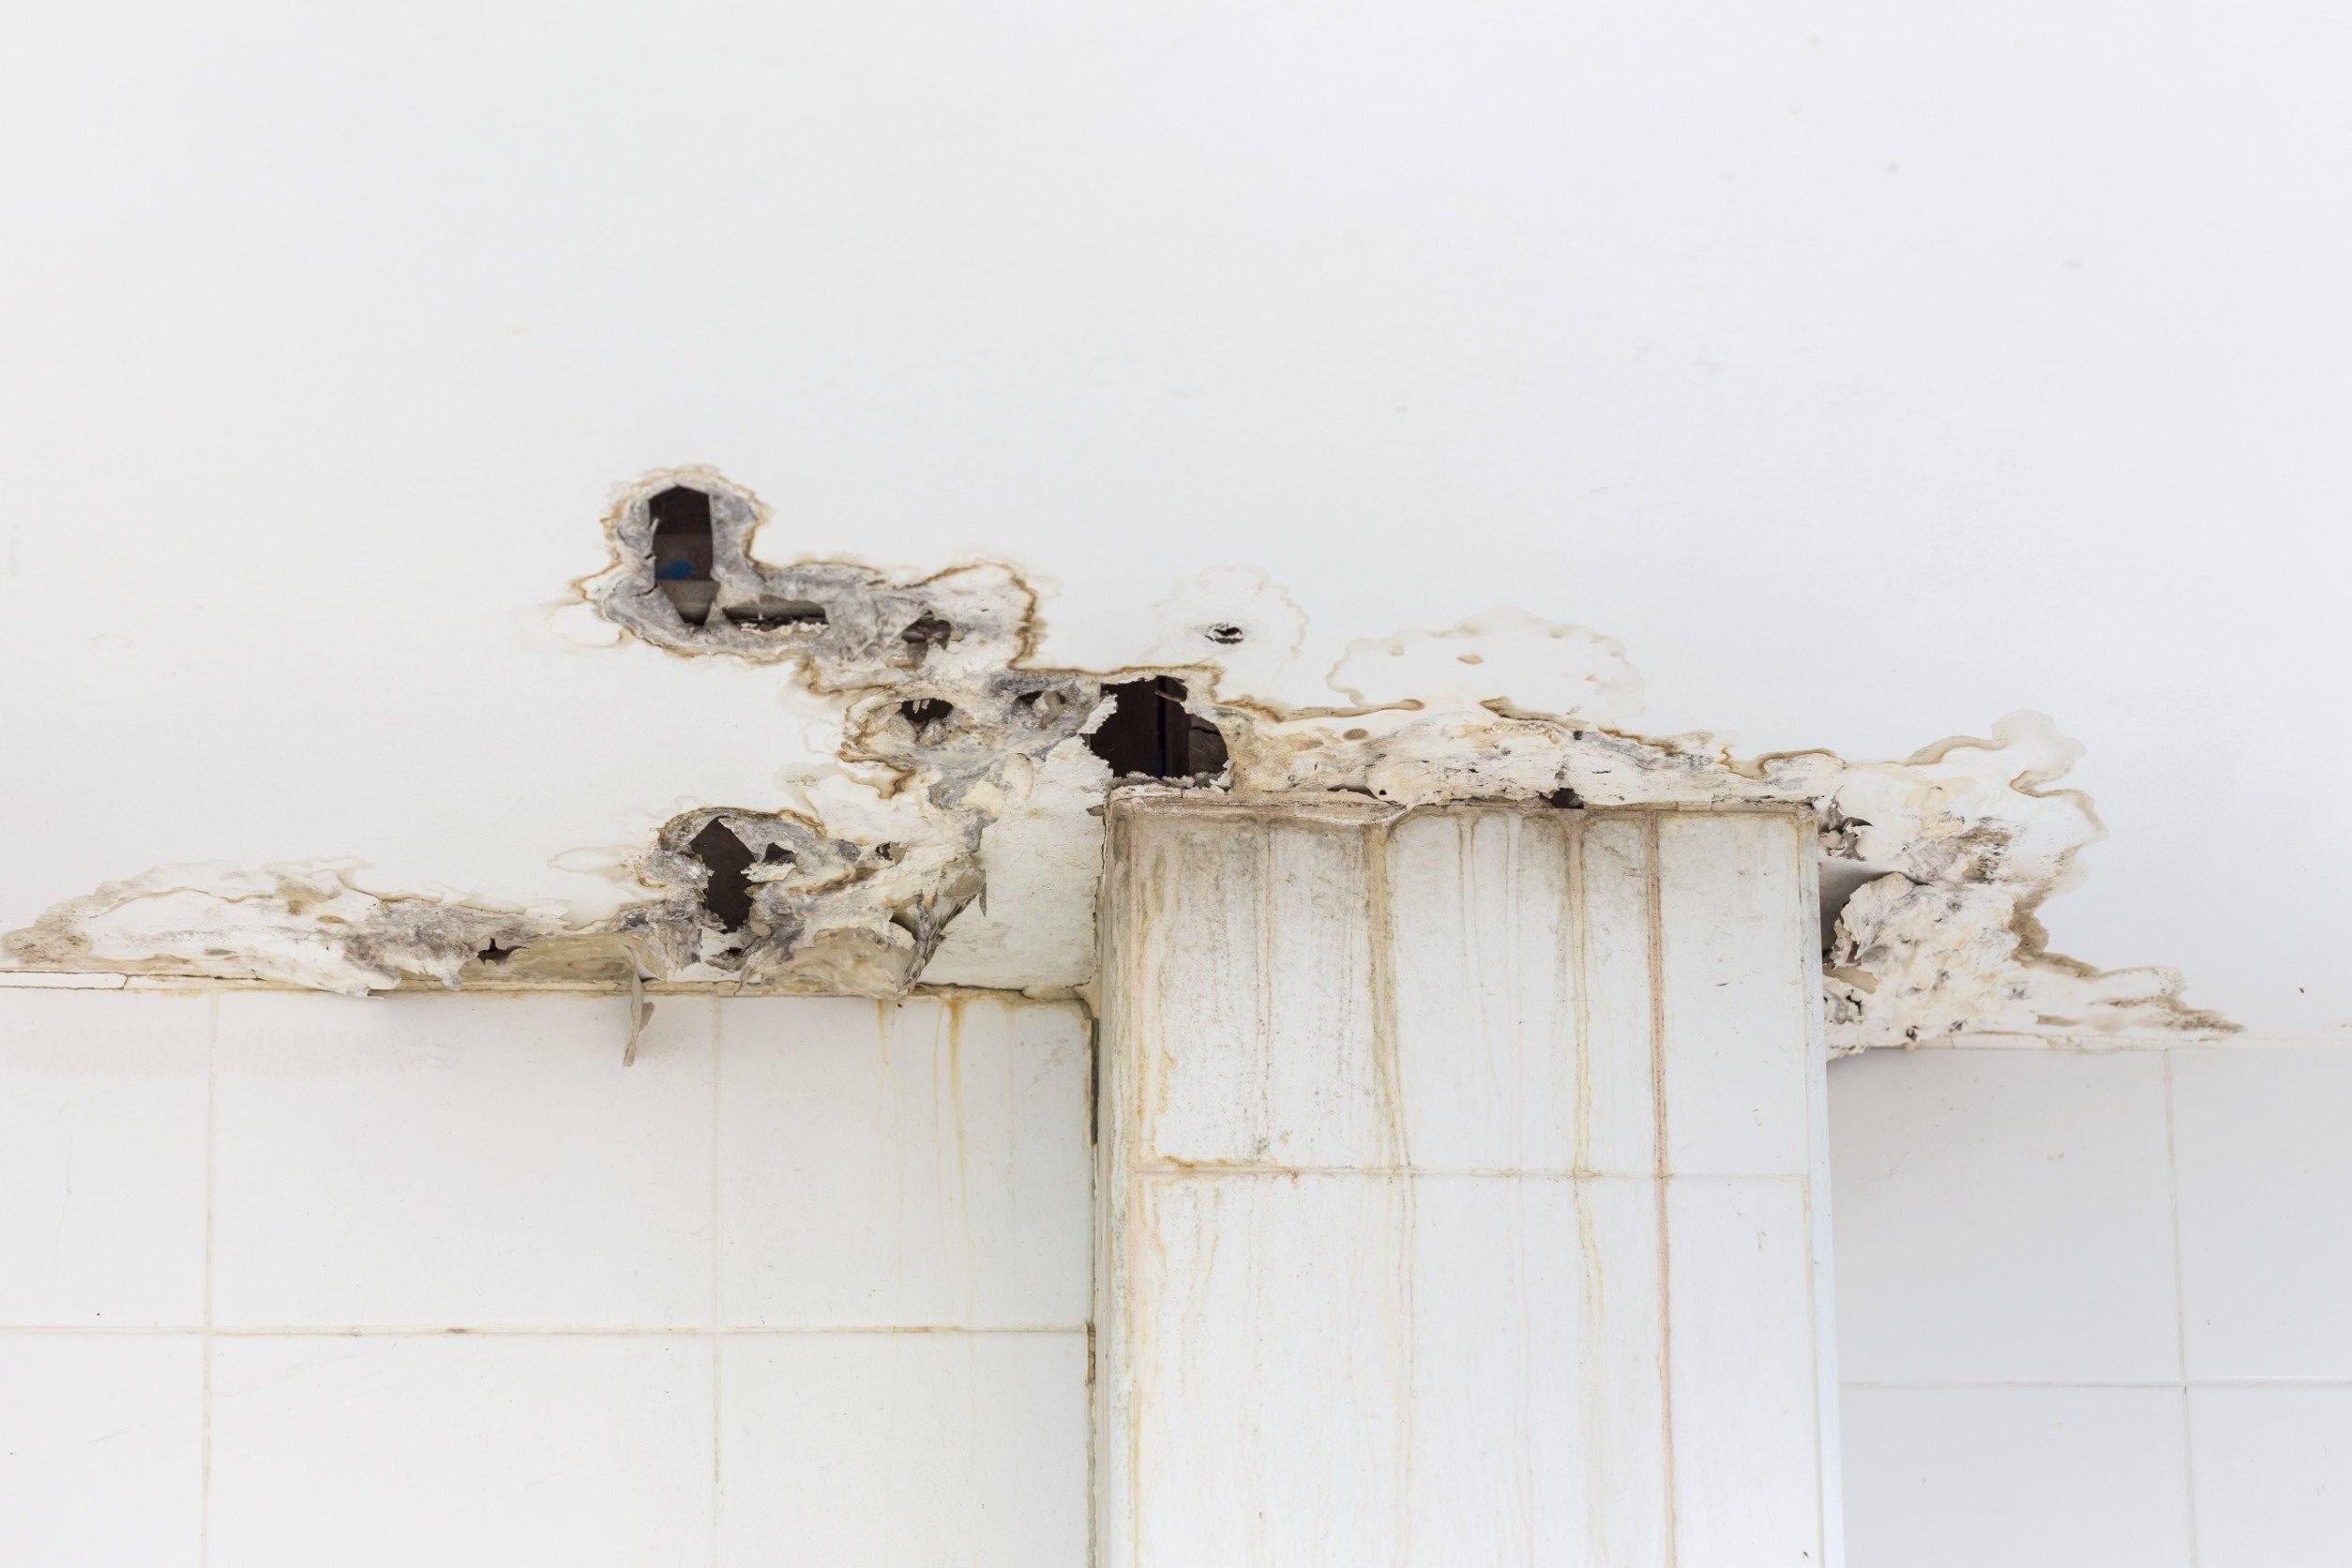
How to Identify and Treat Dry Rot?
As a homeowner, the thought of dealing with any type of structural damage can be overwhelming and frightening. One common issue that many homeowners face is dry rot, which is a type of wood decay caused by fungi. Not only does this problem weaken the structure of your home, but it can also lead to expensive repairs if not addressed in time. In this blog post, we will discuss everything you need to know about identifying and treating dry rot in your home. From understanding what causes it to learning effective treatment methods, our goal is to equip you with the knowledge and tools to combat this dreaded issue and protect your most valuable asset – your home. Introduction to Dry Rot and Its Potential Impact Dry rot, scientifically known as ‘Serpula Lacrymans’, is a silent invader that can wreak havoc on your home’s structure. It is a type of wood-destroying fungus that thrives in damp, poorly ventilated areas, gradually consuming the cellulose and hemicellulose in the timber, causing it to lose its strength and stability. What makes dry rot particularly menacing is its discreet presence. Frequently, the damage is extensive before it comes to the homeowners’ notice. Consequently, a house affected by dry rot can suffer from serious structural problems, including crumbling woodwork, sagging floors or roofs, and in extreme cases, potential collapse. Moreover, the repairs can be financially draining, often involving complete replacement of the affected wood and supplementary treatments to stop future outbreaks. Therefore, prevention and early detection are paramount for homeowners. Recognizing the Signs of Dry Rot Identifying dry rot at an early stage can make a significant difference in mitigation efforts and potential repair costs. The signs can vary, but some common indications of dry rot include: Appearance: Dry rot often starts as a small, fluffy white growth resembling cotton wool. It may darken and take on a mushroom-like form as it matures, with a distinct damp, musty odor. Affected wood tends to darken, crack in a ‘cuboidal’ pattern, and become brittle, often crumbling to the touch. Location: Dry rot can occur in any timber that has become damp and poorly ventilated, but it’s commonly found in areas where water can potentially leak into the home’s structure. It includes window frames, door frames, the timbers of flat roofs, or around pipes that have condensation issues. It can also often be found in hidden areas, such as behind plasterwork, under floorboards, or within roofs and wall cavities. If you observe any of these signs, it’s crucial to consult a professional immediately to evaluate the extent of the problem and start treatment promptly. Possible Causes of Dry Rot Understanding the causes of dry rot is vital for its prevention and treatment. The primary culprits are typically moisture and lack of ventilation, which create an environment conducive to the growth and spread of the dry rot fungus. Here are some common scenarios: 1. Moisture: Dry rot thrives in damp conditions where the moisture content in the wood exceeds 20%. It can be due to a variety of factors such as leaking pipes, damaged roofs or gutters, faulty seals around windows and doors, or even a simple spill that seeped into the woodwork. 2. Poor Ventilation: Timber in areas of the home with poor ventilation can retain moisture, leading to a persistent damp condition ideal for dry rot. These areas may include basements, attics, or any enclosed spaces where air circulation is restricted. 3. Condensation: Homes with poor insulation can often experience condensation on windows, walls, and pipes, especially during colder months. This moisture can seep into the woodwork, providing a perfect breeding ground for dry rot. 4. Lack of Maintenance: Neglecting regular home maintenance tasks, like fixing leaks or ensuring adequate insulation, can inadvertently create a favorable environment for dry rot. The key to preventing dry rot lies in mitigating these causes. Homeowners should be vigilant about addressing any moisture issues promptly, ensuring good ventilation throughout the property, and conducting regular checks and maintenance on their homes. Treating Dry Rot: Step-by-Step Guide Treating dry rot involves a multi-step process requiring particular tools and materials. It is always recommended to get professional help due to the serious nature of the issue. However, if you have identified a minor case and wish to tackle it yourself, here is a guide to help you get started. Materials and Tools Needed: Steps: Remember: This guide is for minor cases only. If you suspect a more extensive problem, please consult a professional. Your home is one of your most significant investments, and it’s worth protecting. Prevention Tips to Avoid Future Occurrences of Dry Rot Protecting your home from dry rot is an ongoing effort that requires vigilance and proper maintenance. Here are some prevention tips to help you avoid future occurrences of dry rot: By following these steps, you can create an inhospitable environment for dry rot, securing the longevity of your home’s structural integrity. Remember, prevention is better than cure, and a little effort now can save you from a lot of trouble later. Conclusion Dealing with dry rot can be a daunting task, but armed with the right knowledge and tools, homeowners can effectively combat this silent invader. Being proactive about regular inspections, addressing leaks promptly, ensuring proper ventilation, and using treated wood can significantly minimize the risk of dry rot. However, if an infestation occurs, it’s crucial to act swiftly, either by following our step-by-step guide for minor cases or by enlisting the help of a professional for more severe situations. The key lies in prevention and early detection, safeguarding your home’s structural integrity, and maintaining its value. Remember, your home is more than a structure; it’s a sanctuary, a space filled with memories, and preserving its health is well worth the effort. About Us Want to get rid of pesky pests and dry rot in your home or business building but don’t know how? Enviro-Care Pest & Termite Control, Inc. is there to help you. Working since 1996